
Install PostgreSQL on Windows: Beginner’s Guide
PostgreSQL is a powerful, open‑source relational database system trusted worldwide for its reliability, scalability, and advanced features. Originally designed for UNIX‑like platforms, PostgreSQL is highly portable and runs seamlessly on Windows, macOS, and Linux, making it a versatile choice for developers and learners alike. Beginners often prefer PostgreSQL because of its user‑friendly tools like pgAdmin 4 and psql command line. Over the years, it has built a strong community support, while professionals value its ability to handle complex queries and large datasets. While setting up your local environment, you may also want to explore the latest enterprise database updates in our SQL Server 2025 New Features Master Guide
⚡ SQL SERVER 2025 IS HERE!
Microsoft has officially unveiled the next generation of the data platform. We have just published our SQL Server 2025 New Features: The Master Guide covering everything from Vector Search (AI) and Native JSON to the new Optimized Locking (TID/LAQ) architecture.
👉 Explore the 30+ New Features Now →
Install PostgreSQL on Windows 10/11 – Step-by-Step Beginner’s Guide
This tutorial provides a PostgreSQL Windows installation guide for beginners, walking you through how to install PostgreSQL on Windows step by step so you can quickly set up your database environment and start building applications or learning SQL.
While this guide focuses on PostgreSQL, many of the performance principles we discuss also apply to the latest engine updates in the SQL Server 2025 New Features Master Guide.
Why Install PostgreSQL on Windows?
- Benefits of PostgreSQL for developers, students, and businesses.
- Ease of use with pgAdmin 4 and command‑line tools.
- Compatibility with Windows 10 and Windows 11.
Prerequisites Before Installation of PostgreSQL on Windows
- Administrator privileges required.
- Stable internet connection for downloading installer file.
- Enough disk space for PostgreSQL server and data directory.
Step 1: Download PostgreSQL Installer for Windows
- Navigate to EnterpriseDB official download page.
- Select Windows x86‑64 installer for the latest version (PostgreSQL 18).
- Save installer file locally.

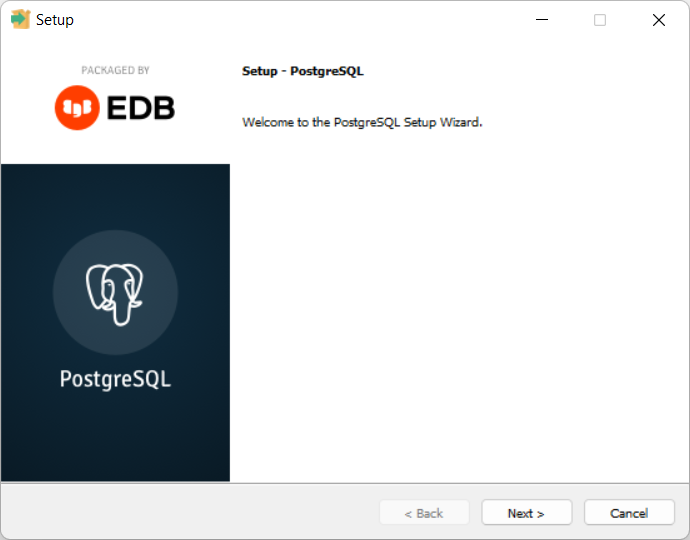
Step 2. Run the Installer
- Locate the downloaded file and double‑click it.
- The installation wizard will be launched, guiding you through the setup process.
- Click Next to begin.
Step 3. Select Installation Directory
- Choose where PostgreSQL should be installed.
- Beginners can stick with the default directory suggested by the wizard.
- Click Next to continue.

Step 4: Select Components to Install in PostgreSQL 18 Setup
You’ll be asked which components to install:
- PostgreSQL Server – the core database engine.
- pgAdmin 4 – a graphical management tool for PostgreSQL.
- Command Line Tools – utilities like psql, pg_dump, and pg_restore.
- Stack Builder – optional tool for downloading drivers and add‑ons.
- Click Next to continue.

👉 For most beginners, installing the Server, pgAdmin 4, and Command Line Tools is sufficient. You can skip Stack Builder.
Step 5: Configure Data Directory
- Choose location for database storage.
- Default directory works for most users.
- Click Next to continue.

Step 6: Set Superuser Password During PostgreSQL Installation Setup
- Enter a secure password for the default PostgreSQL superuser account (postgres).
- Retype the password to confirm.
- Click Next.

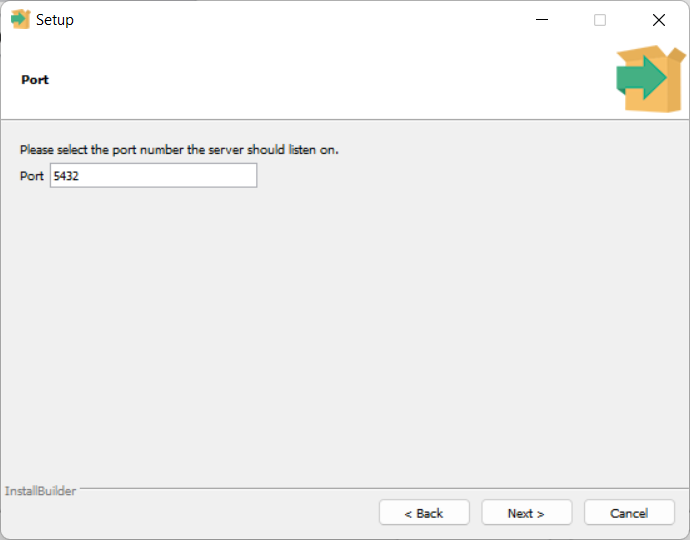
Step 7. Assign Port Number to PostgreSQL
- PostgreSQL uses port 5432 by default.
- Unless another application is using this port, leave it unchanged.
- Click Next.
Step 8. Choose Locale for PostgreSQL During Installation
- Select the locale (language and region settings) for your PostgreSQL server.
- Leaving it as default will use your Windows system locale.
- Click Next.

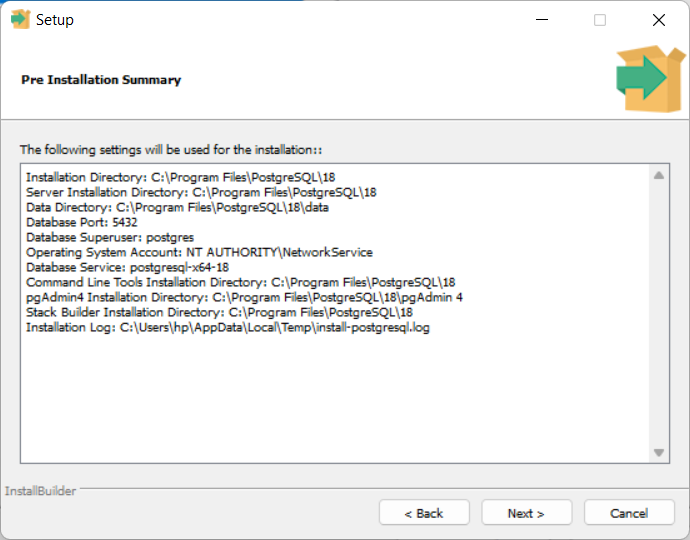
Step 9. Review Settings Prior to the Installation of PostgreSQL
- The wizard will display a summary of your configuration.
- Double‑check the details.
- If everything looks good, click Next to start the installation.
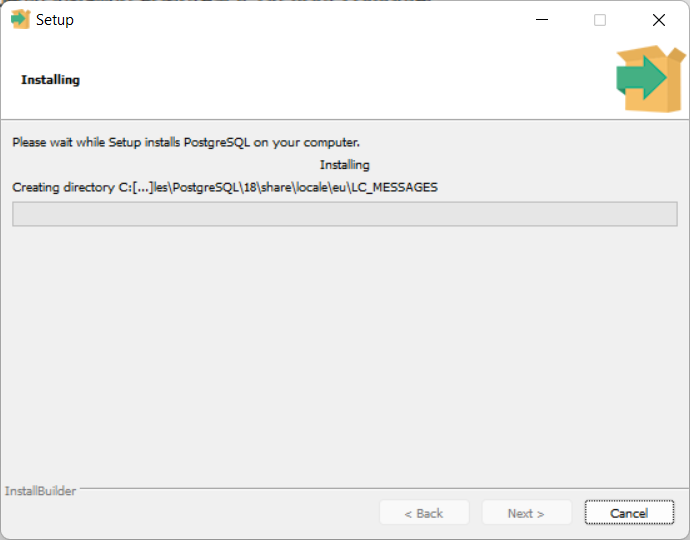
Step 10. Complete Installation on PostgreSQL 18 on Windows
- The installer will copy files and configure PostgreSQL.
- Once finished, click Finish to exit the wizard.


Conclusion
Installing PostgreSQL on Windows is straightforward, even for beginners. By following these steps, you’ll have a fully functional PostgreSQL environment with both graphical and command‑line tools. Whether you’re learning SQL, building applications, or managing large datasets, PostgreSQL provides the flexibility and performance you need. Now that PostgreSQL is installed, you can start creating databases, running queries, and exploring advanced features like stored procedures, indexing, and JSON support.
Next Steps after Installing PostgreSQL 18 on Windows
Once the PostgreSQL 18 installation on Windows is finished, the crucial follow‑up is configuring the PATH environment variable. By adding PostgreSQL to PATH, you ensure that tools like psql and pg_restore can be accessed directly from the Windows command line. This guide walks you through the process of how to add PostgreSQL to PATH on Windows, making your database setup more efficient and user-friendly. After your environment is ready, the next professional step is to optimize your server. To prevent future bottlenecks, check out our guide on PostgreSQL Performance Tuning: The ‘Golden Ratios’ for Memory Configuration to ensure your installation is running at peak efficiency.
- Learn how to restore PostgreSQL sample database dvdrental using pgAdmin with this beginner‑friendly guide.
- Master the PostgreSQL SELECT statement with this beginner-friendly tutorial. Learn syntax, examples, and best practices for querying data efficiently.
- Learn How to Connect to PostgreSQL Database Server Using psql and pgAdmin.
More PostgreSQL Articles and Tips
- Install PostgreSQL on Windows: Step‑by‑Step Beginner’s GuideLearn how to install PostgreSQL on Windows with this beginner friendly tutorial. Step by step instructions for downloading, configuring, and setting up PostgreSQL, pgAdmin, and command line tools.
- Add PostgreSQL to PATH on Windows (Step-by-Step Guide)Learn step by step how to set Windows PATH for Postgres tools. Easily add PostgreSQL to PATH Windows 11, configure PostgreSQL environment variables Windows, and run Postgres from the command line.
- Connect to PostgreSQL Database Server Using psql and pgAdminLearn how to connect to PostgreSQL database server using psql command line and pgAdmin GUI. Easy tutorial for beginners with queries, host/port setup, and FAQs.
- Load PostgreSQL Sample Database: Beginner-Friendly TutorialLearn how to load the PostgreSQL DVD Rental sample database using pgAdmin. Step-by-step beginner’s guide to creating, restoring, and exploring PostgreSQL databases for practice.
- PostgreSQL SELECT Clause: The Complete Guide (with Performance Tips)Master the PostgreSQL SELECT statement with this beginner-friendly tutorial. Learn syntax, examples, and best practices for querying data efficiently.

Add comment